Fixing Surface Finish Issues in CNC Aluminum Parts
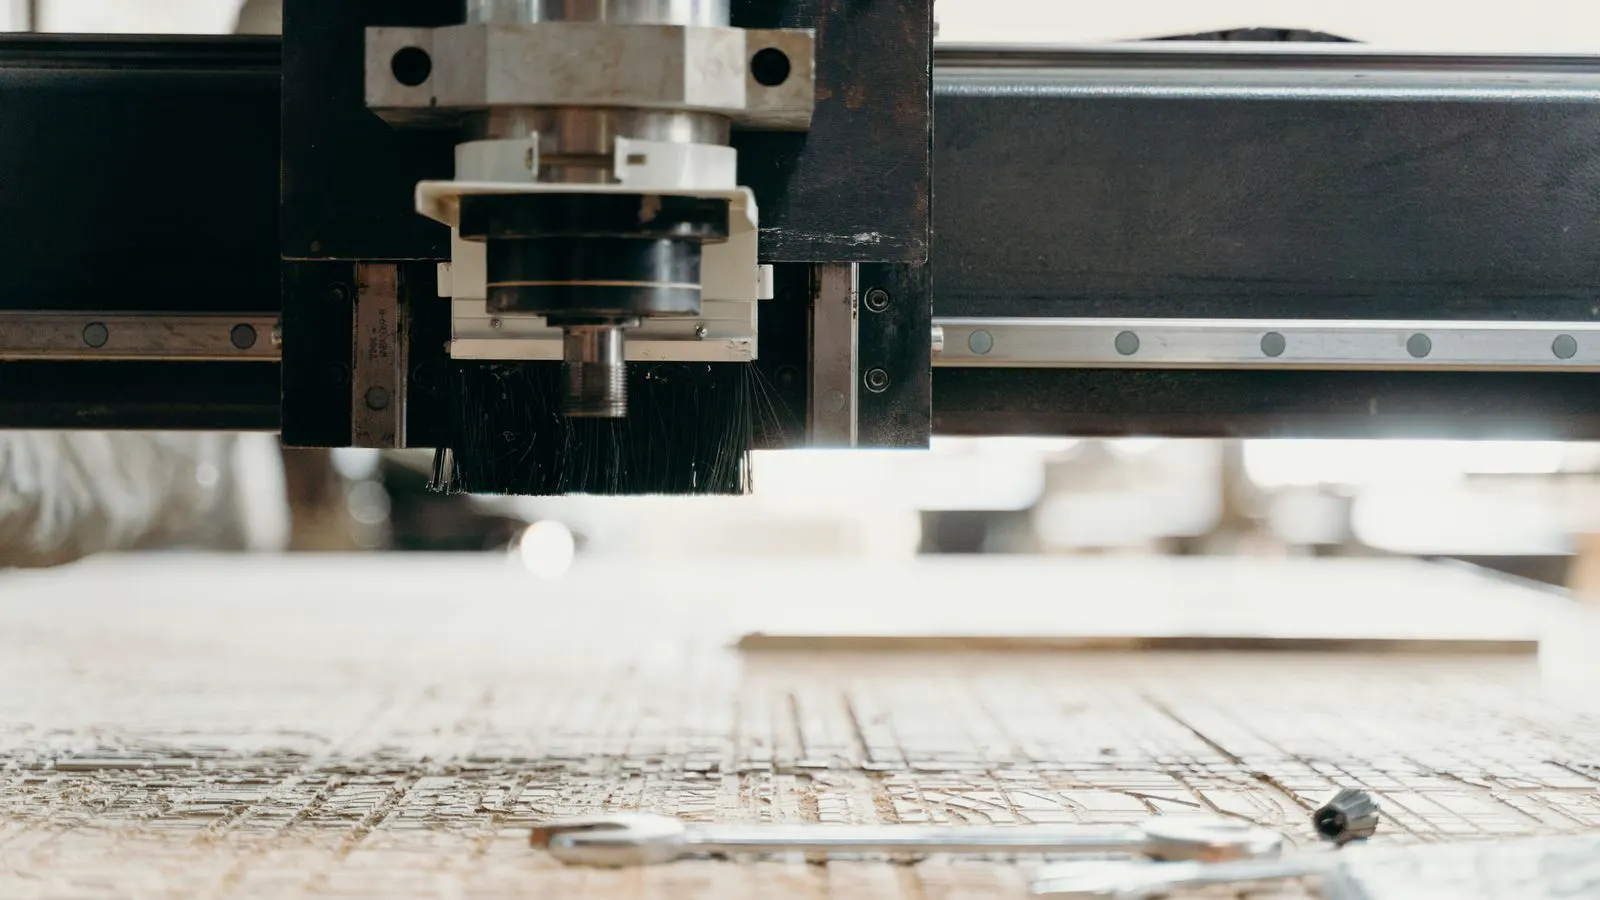
Surface finish problems in aluminum parts often stem from tooling, feed rates, or workholding. This guide helps you identify common defects, understand their causes, and apply targeted fixes to achieve a consistent, high-quality CNC surface finish.
- Identify the specific visual symptom of your surface finish issue before changing machine settings.
- Use the correct cutting tool geometry and sharp edges to reduce tearing and chatter.
- Adjust feed rates and speeds based on the aluminum alloy and desired finish.
- Ensure stable workholding to prevent vibration and inconsistent surface texture.
- Apply proper lubrication and coolant to improve cutting performance and heat removal.
Why Surface Finish Matters in Aluminum Machining
A good CNC surface finish is not just about aesthetics. It affects how a part fits with other components, how well it resists corrosion, and whether it meets the functional requirements of the final assembly. Aluminum is easy to machine, but it is also prone to smearing, tearing, and vibration if the process is not controlled. When a part does not meet the required finish, it can lead to scrap, rework, or customer complaints.
This guide focuses on diagnosing and fixing common surface finish issues in CNC-machined aluminum parts. It is designed for engineers, machinists, and buyers who need a clear path from problem to solution.
Common Surface Finish Problems and Their Causes
The table below lists the most frequent surface finish defects seen in aluminum machining. Matching the symptom to the likely cause is the first step in fixing the problem.
| Symptom | Likely cause | What to do |
|---|---|---|
| Tearing or smearing on the surface | Dull tool edges, incorrect tool geometry, or excessive feed rate | Replace or sharpen the cutting tool; reduce feed rate; use a tool with a positive rake angle |
| Chatter marks or wavy lines | Loose workholding, machine vibration, or unstable cutting parameters | Tighten fixtures; reduce cutting speed; use dampening tools or change cutting strategy |
| Gouges or deep scratches | Tool deflection, chip buildup, or improper tool path | Inspect and clean chips; reduce depth of cut; verify tool path for sharp direction changes |
| Inconsistent finish across the part | Thermal expansion, uneven material hardness, or machine inaccuracy | Allow workpiece to stabilize; use a consistent cutting sequence; calibrate machine axes |
| Poor finish in deep pockets or corners | Tool deflection, lack of clearance, or insufficient coolant | Use shorter tools; increase coolant flow to the area; adjust tool path for better access |
| Faint lines from the previous tool pass | Overlapping passes, incorrect stepover, or tool wear | Adjust stepover to overlap the previous pass; replace worn tools; use a finishing pass with lower feed |
Tooling Selection and Condition
Tooling is one of the most significant factors affecting surface finish. Aluminum is soft and gummy, which means it tends to wrap around the tool or smear against the surface if the cutting edge is not sharp. A dull tool pushes material instead of shearing it, leading to tearing and a rough texture.
When selecting tools for aluminum, consider the following:
- Use tools with positive rake angles and sharp cutting edges to minimize heat and friction.
- Choose carbide or high-speed steel tools with coatings that reduce adhesion.
- Inspect tools regularly for wear, chip buildup, or micro-cracks.
- Match the tool diameter to the feature size. Smaller tools are more flexible and prone to deflection, which worsens the finish.
If you are using standard end mills, ensure that the number of flutes is appropriate. For aluminum, fewer flutes can help with chip evacuation, but the ideal number depends on the machine, tool size, and desired finish. Always follow the tool manufacturer’s recommendations for speed and feed.
Feed Rates and Cutting Speeds
Even with the right tool, incorrect cutting parameters can ruin the surface finish. Feed rate is the speed at which the tool moves through the material. If the feed rate is too high, the tool may tear the material. If it is too low, the tool may rub against the surface, generating heat and causing smearing.
Cutting speed also plays a role. Too high a speed can overheat the tool and the workpiece, while too low a speed can increase the force on the tool. For aluminum, higher speeds are generally preferred compared to steel, but the exact values depend on the alloy, tool material, and machine capabilities.
A practical approach is to start with the tool manufacturer’s recommended range and adjust based on the results. If you see tearing, reduce the feed rate. If you see smearing or a shiny but uneven surface, increase the speed slightly or improve coolant flow. Always make one variable change at a time so you can identify what caused the improvement.
Workholding and Machine Stability
Vibration is a hidden enemy of surface finish. Even a small amount of chatter can create visible lines or a rough texture on the part. Workholding is the first line of defense. If the part is not clamped firmly, it can shift during cutting, causing inconsistent depth of cut and vibration.
Check the following:
- Are the clamps tight and positioned to support the part near the cutting area?
- Is the fixture free of debris or damage that could create gaps?
- Is the part rigid enough for the cutting forces involved?
If the part is large or thin, consider using vacuum fixtures, dowel pins, or additional support. For deep pockets, use a shorter tool or a tool with a larger shank diameter to reduce deflection. Machine condition also matters. Worn ball screws, loose guideways, or a misaligned spindle can introduce vibration that no workholding setup can fully correct. If chatter persists despite good workholding and tooling, have the machine inspected.
Coolant and Lubrication
Coolant serves multiple purposes: it removes chips, controls temperature, and lubricates the cutting edge. In aluminum machining, poor coolant management can lead to a poor finish. If chips are not removed, they can be re-cut, creating gouges and a rough surface. If heat builds up, the aluminum can soften and smear.
Use a high-quality cutting fluid designed for non-ferrous metals. Ensure that the coolant nozzles are aimed correctly and that the flow rate is sufficient for the cutting area. For deep pockets, consider using through-the-tool cooling if the machine and tool allow it.
Also, monitor coolant concentration. Too low a concentration reduces lubricity and corrosion protection. Too high a concentration can lead to bacterial growth and reduced performance. Follow the fluid manufacturer’s guidelines for mixing and maintenance.
Finishing Passes and Tool Path Strategy
A roughing pass is not a finishing pass. Trying to achieve a high-quality finish in a single operation is often impossible. Use a dedicated finishing pass with a much lower feed rate and depth of cut. This allows the tool to remove a thin layer of material and smooth the surface.
Tool path strategy also affects finish. Avoid sharp direction changes, which can cause the tool to decelerate and accelerate, leading to inconsistent cutting. Use smooth, continuous paths wherever possible. For flat surfaces, use a finishing toolpath with a small stepover to ensure even coverage.
If you are machining complex geometries, consider using a smaller diameter tool for finishing, but be mindful of deflection. A tool that flexes will not produce a consistent finish. In some cases, using a different tool shape, such as a ball nose or a flat end mill with a smaller radius, can improve the finish in corners and contours.
Preventing Surface Finish Issues
Prevention is more efficient than correction. By establishing a consistent process, you can reduce the likelihood of surface finish defects.
- Standardize your process parameters. Document the speeds, feeds, and tool paths that work well for each alloy and feature type.
- Use a pre-machining inspection. Check the raw material for defects, scale, or oxidation that could transfer to the finished part.
- Inspect tools before use. Replace or sharpen tools before they become dull.
- Maintain machine condition. Regularly clean chips, check coolant levels, and perform preventive maintenance.
- Verify workholding. Ensure fixtures are clean, undamaged, and properly tightened.
By focusing on these areas, you can achieve a consistent and high-quality CNC surface finish on aluminum parts, reducing rework and improving customer satisfaction.
Frequently asked questions
What is the ideal surface finish for an aluminum part?
The ideal surface finish depends on the application. For functional parts, a smooth finish can improve fit and reduce wear. For cosmetic parts, a finer finish may be required. Always refer to the drawing or specification for the required finish.
Can I use the same cutting parameters for all aluminum alloys?
No. Different aluminum alloys have different hardness and workability characteristics. For example, 6061 is harder than 1100, and 7075 is harder than 6061. You may need to adjust speeds and feeds for each alloy to achieve the best finish.
What is the difference between a roughing pass and a finishing pass?
A roughing pass removes a large amount of material quickly, while a finishing pass removes a small amount of material to achieve the final dimensions and surface finish. Finishing passes use lower feed rates and depths of cut.
How do I know if my tool is dull?
A dull tool will produce a rougher surface, generate more heat, and require higher cutting forces. You may also see chips that are thicker and less uniform. If you notice these signs, replace or sharpen the tool.
Is it worth investing in a higher-end CNC machine for better surface finish?
A high-end machine may offer better rigidity, accuracy, and control, which can help achieve a finer finish. However, proper tooling, parameters, and workholding are usually more important for surface finish. A well-maintained mid-range machine can produce excellent results.