CNC Tooling Checklist: 10 Items Before Your First Run
Verify your CNC tooling checklist by inspecting tool selection, setup parameters, and quality control items. This guide provides a practical, numbered audit list to prevent errors and ensure safe, accurate production before starting your first run.
- A pre-run inspection prevents costly crashes and rework.
- Verify tool selection, setup, and quality control items systematically.
- Use a consistent checklist to maintain production consistency.
- Check for wear, chip control, and coolant flow before starting.
- Document all checks for traceability and continuous improvement.
Starting production on a CNC machine requires careful preparation. A thorough inspection of your tools and setup prevents crashes, poor surface finish, and material waste. Engineers and operators need a reliable way to verify every element before the first cut.
This guide provides a practical, numbered checklist grouped by theme. It is designed for engineers and production managers who need to ensure accuracy before starting work. Each item includes a brief explanation and red flags to watch for.
1. Tool Selection and Verification
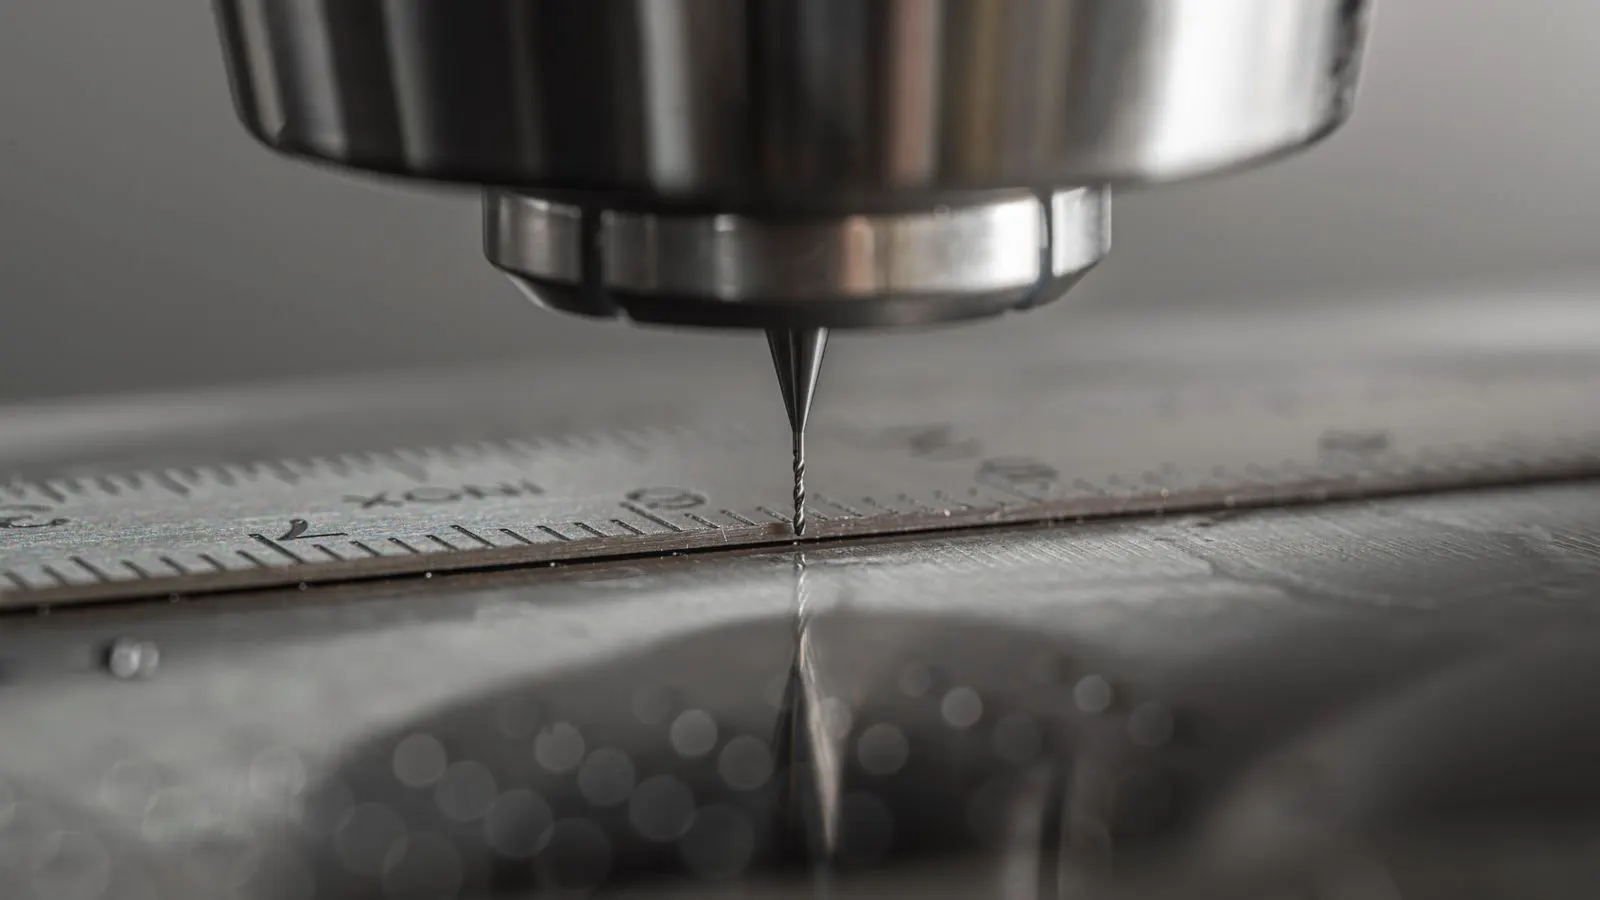
Tool selection is the foundation of any successful CNC job. The wrong tool can damage the workpiece or the machine. Verify that the correct tool is selected for the material and operation.
-
Verify Tool Compatibility
Check that the tool holder and tool match the machine’s spindle and tool library.
Red flag: Tool length or diameter does not match the tool path or holder capacity. -
Confirm Material and Operation Match
Ensure the cutting tool is appropriate for the material (e.g., carbide for hardened steel) and operation (e.g., roughing vs. finishing).
Red flag: Using a roughing tool for finishing or a soft tool for hard material. -
Check Tool Condition
Inspect the tool for chips, cracks, or excessive wear. A damaged tool can cause poor cuts or breakage.
Red flag: Visible nicks, chipped edges, or worn inserts. -
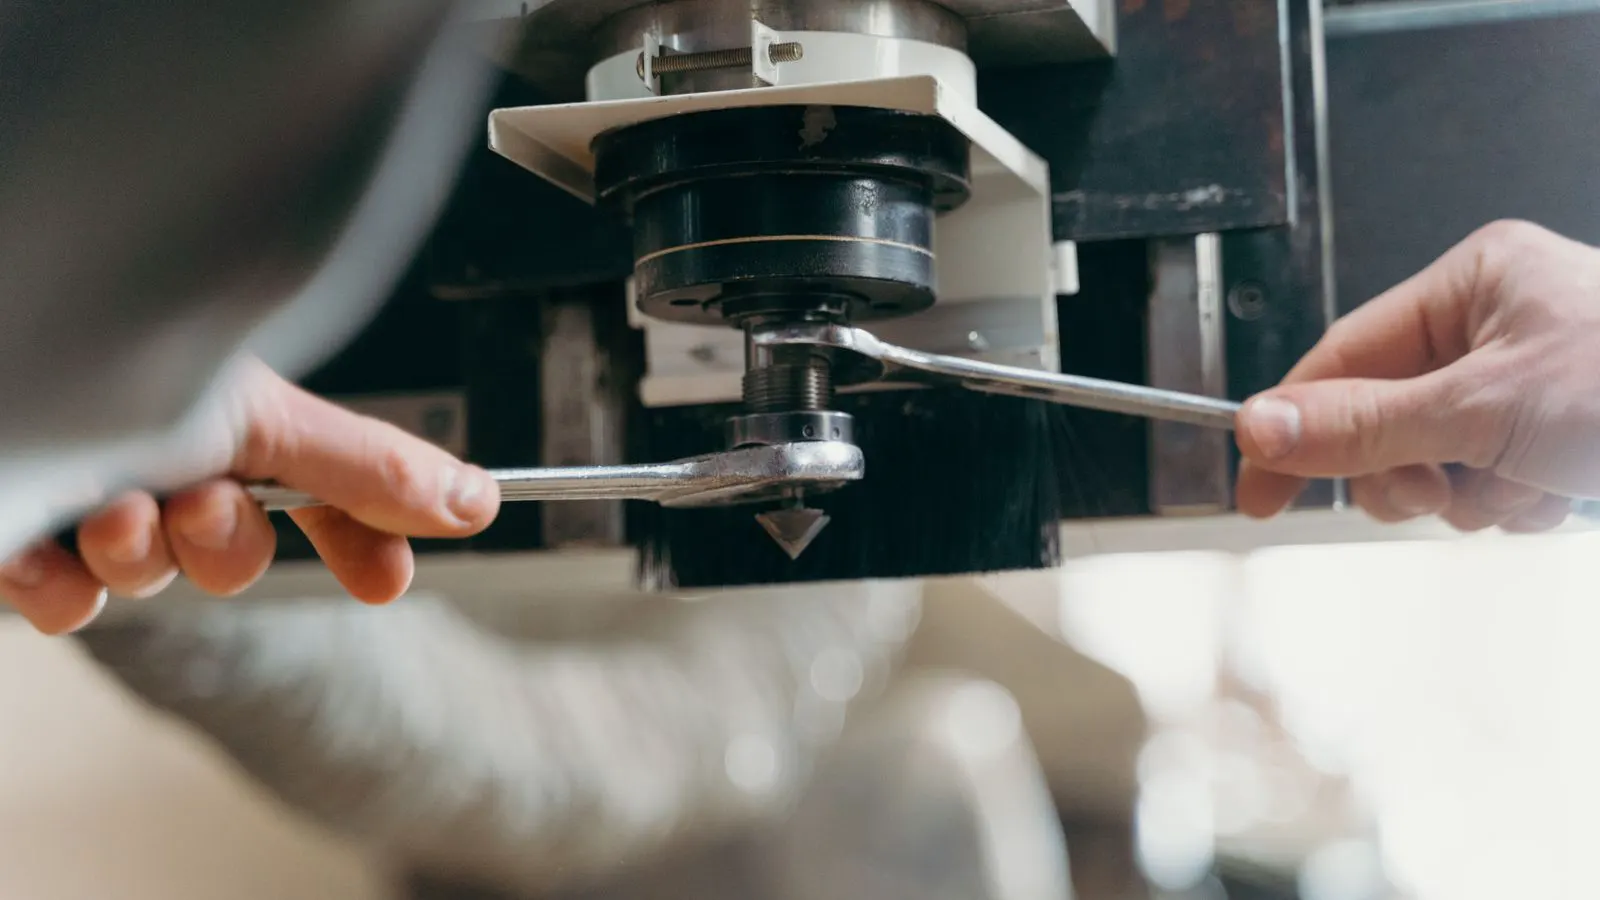
Verify Tool Orientation
Ensure the tool is installed in the correct orientation relative to the workpiece and spindle direction.
Red flag: Tool facing the wrong way, causing immediate contact with the workpiece.
| Tool Type | Recommended Use | Red Flag to Watch |
|---|---|---|
| End Mill | 2D profiling, pocketing | Burred edges, dull teeth |
| Drilling Bit | Holes, tapping | Worn flutes, chipped tips |
| Face Mill | Flat surfaces | Uneven wear across inserts |
| Taper Bore | Tapered features | Worn taper, dull edge |
| Tap | Threaded holes | Broken or dull flutes |
2. CNC Setup and Alignment
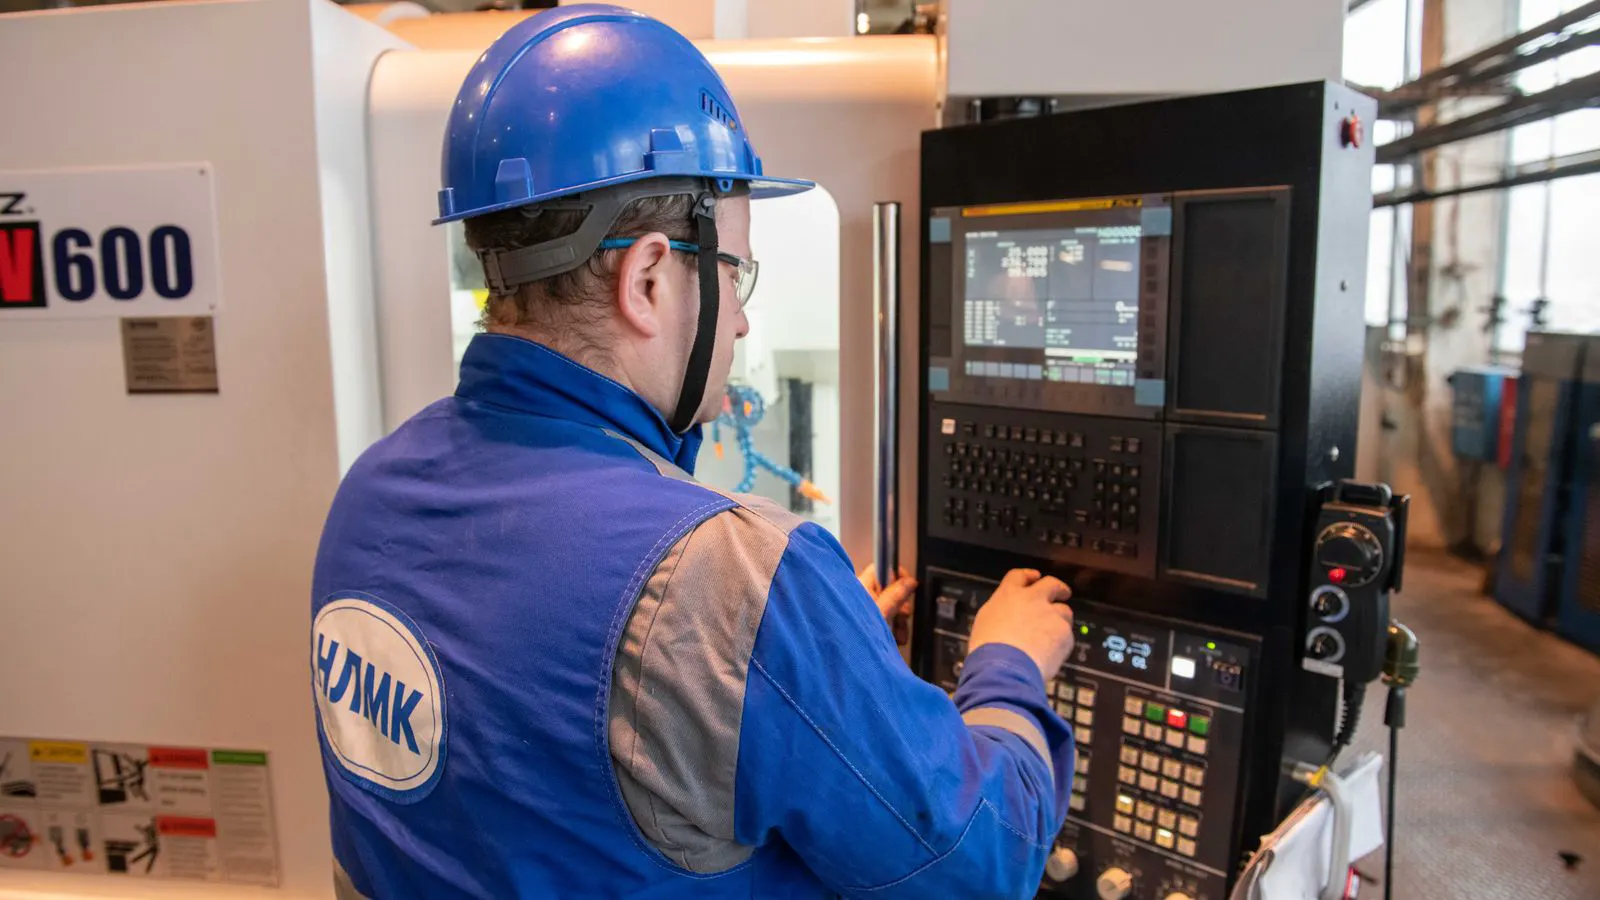
Proper setup ensures the tool, workpiece, and machine are aligned correctly. Misalignment can lead to crashes, poor fit, or inaccurate dimensions.
-
Verify Workpiece Fixturing
Check that the workpiece is securely clamped and does not move during cutting.
Red flag: Looseness, vibration, or shifting under load. -
Confirm Zero Point
Verify the machine’s zero position (X, Y, Z) relative to the workpiece.
Red flag: Zero set incorrectly, causing tool to hit the table or miss the work. -
Check Tool Length and Radius Compensation
Ensure tool length offsets and radius compensation values are correct in the machine control.
Red flag: Incorrect offsets causing collision or dimensional errors. -
Verify Spindle Speed and Feed Rates
Confirm that the programmed spindle speed (RPM) and feed rate match the tool manufacturer’s recommendations for the material.
Red flag: Speed too high (causing burn) or feed too high (causing poor finish).
3. Quality Control and Inspection
Quality control ensures the part meets specifications and catches issues before they become costly problems.
-
Inspect for Surface Finish
Check the surface finish of test cuts for scratches, built-up edge, or tool marks.
Red flag: Rough surface, visible tool marks, or built-up edge on the tool. -
Measure Critical Dimensions
Use a micrometer or caliper to measure critical dimensions of test parts.
Red flag: Dimensions outside tolerance, indicating setup or tool wear issues. -
Check for Burrs and Flash
Inspect cut edges for burrs or flash, which can indicate improper tooling or feed rates.
Red flag: Excessive burrs or flash, indicating tool wear or incorrect parameters. -
Verify First-Piece Approval
Get approval on the first piece before starting full production.
Red flag: First piece fails inspection, indicating a fundamental setup error.
4. Machine and Environment Checks
The machine and environment play a critical role in production quality. Neglecting these items can lead to inconsistent results.
-
Check Coolant Flow
Ensure coolant is flowing correctly and reaching the cutting area.
Red flag: No coolant, low pressure, or misdirected flow. -
Inspect Chip Control
Verify that chips are being evacuated properly and are not accumulating in the tool path.
Red flag: Chip buildup, causing tool wear or machine damage. -
Check Machine Vibration
Listen for unusual noises or vibrations during setup.
Red flag: Unusual sounds, vibration, or chatter during cutting. -
Verify Machine Safety
Ensure all safety guards are in place and emergency stops are functional.
Red flag: Missing guards, non-functional emergency stops, or unlocked doors.
5. Documentation and Traceability
Good documentation ensures consistency and traceability for future production runs.
-
Record Tool Offsets and Parameters
Document all tool offsets, spindle speeds, and feed rates used for the setup.
Red flag: Missing or incorrect documentation, causing confusion in future runs. -
Save the Program
Save the CNC program and any modifications to a secure location.
Red flag: Program not saved, causing loss of setup data. -
Update the Work Order
Record the date, operator, and any issues encountered during setup.
Red flag: No record of setup, making it difficult to trace problems. -
Review Previous Run Data
Check for any known issues or adjustments from previous runs of the same part.
Red flag: Ignoring previous issues, leading to repeated problems.
6. Common Mistakes to Avoid
Even with a thorough checklist, mistakes can happen. Be aware of common pitfalls that can lead to costly errors.
-
Skipping the First-Piece Inspection
Always inspect the first piece before starting production.
Red flag: Starting production without verifying the first piece. -
Using Worn or Damaged Tools
Never use tools that are worn or damaged.
Red flag: Continuing to use a tool with visible wear or damage. -
Ignoring Coolant and Chip Issues
Coolant and chip control are critical for tool life and part quality.
Red flag: Neglecting coolant flow or chip evacuation. -
Not Verifying Zero Points
Always verify the zero point before starting a run.
Red flag: Assuming the zero point is correct without verification.
7. Final Pre-Run Checklist
Use this final checklist to ensure everything is in order before starting production.
- Tools verified and in good condition
- Workpiece securely fixed
- Zero points confirmed
- Tool offsets and compensation set
- Spindle speed and feed rates checked
- Coolant flow verified
- Chip control inspected
- Safety guards in place
- First-piece inspection complete
- Documentation updated
Following this checklist ensures a smooth start to production and reduces the risk of errors. A few minutes of preparation can save hours of rework and downtime.
Conclusion
A thorough pre-run inspection is essential for successful CNC production. By verifying tool selection, setup, and quality control items, engineers and operators can prevent crashes and ensure part quality. Use this checklist to standardize your pre-run process and maintain consistency across all production runs.
Frequently asked questions
What is the most important item in a CNC tooling checklist?
Verifying tool selection and condition is the most important item, as the wrong or damaged tool can cause immediate damage and poor part quality.
How often should tools be inspected?
Tools should be inspected before each run and during long production runs to catch wear and damage early.
What are the red flags for a poorly fixed workpiece?
Red flags include looseness, vibration, or shifting under load, which can cause crashes and poor part quality.
Why is coolant flow important?
Coolant flow is important for tool life, part quality, and chip evacuation. Poor coolant flow can cause tool wear and poor surface finish.
Should the first piece always be inspected?
Yes, the first piece should always be inspected before starting full production to catch setup errors early.