Fixing CNC Surface Finish on Hardened Stainless Steel
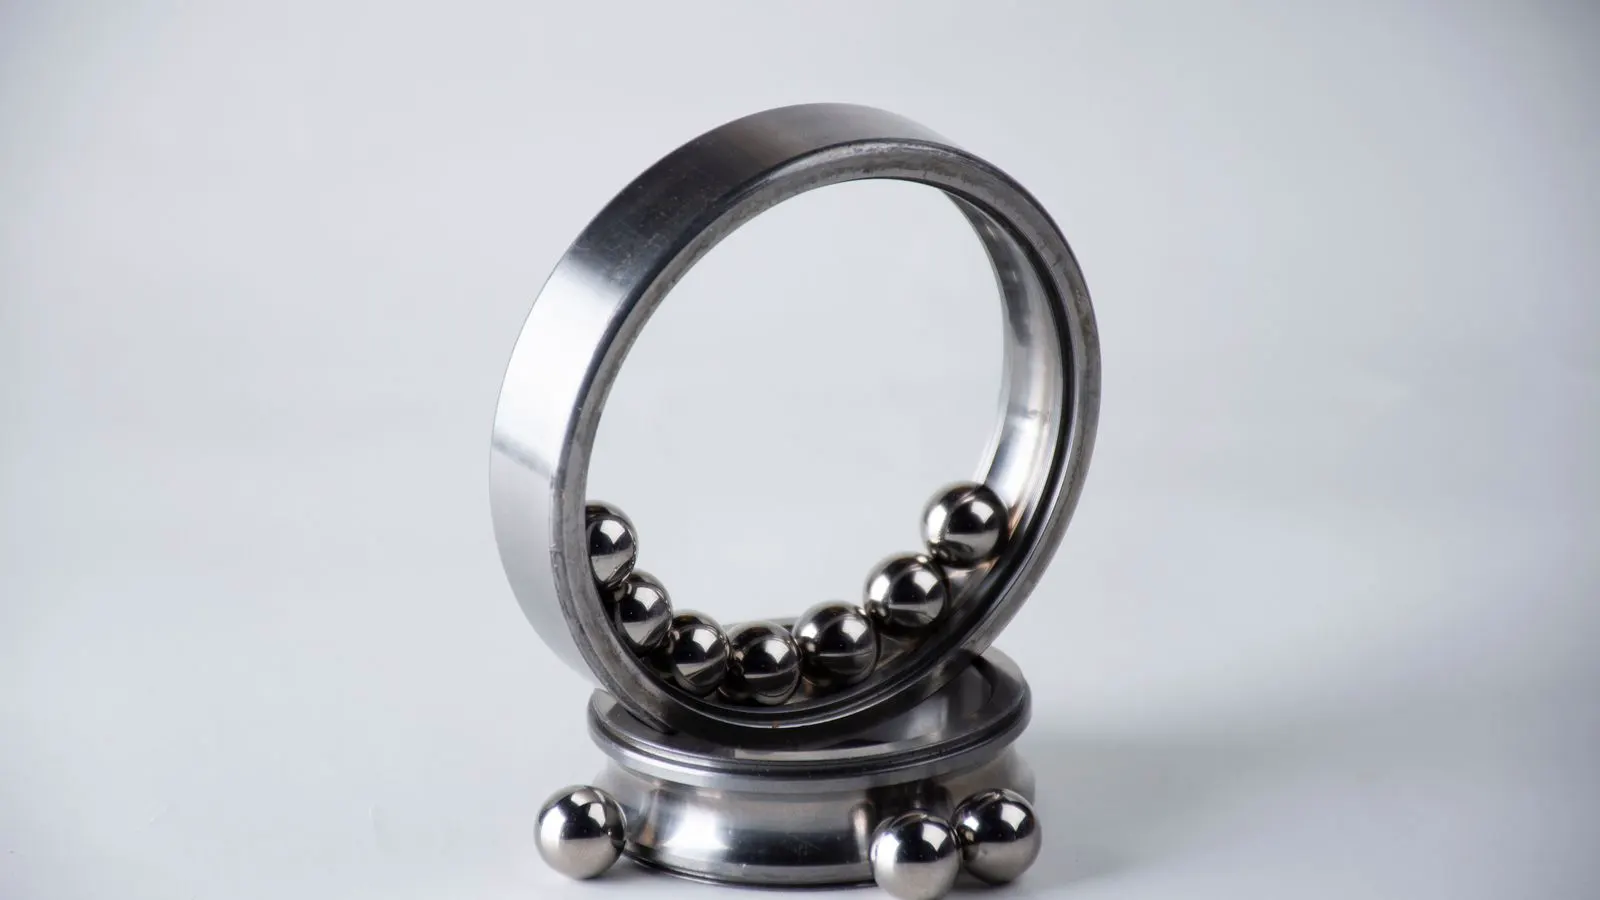
Fixing CNC surface finish on hardened steel requires controlling vibration, tool wear, and cutting parameters. Use the right tooling, reduce chatter, and verify surface quality with proper measurement methods to meet tolerance specifications.
- Hardened stainless steel demands specific tooling and cutting parameters to avoid vibration and poor surface finish.
- Vibration, tool wear, and inconsistent cutting speed are common causes of defects.
- Regular tool inspection and parameter adjustments help maintain consistent quality.
- Prevention through proper setup and process control reduces rework and scrap.
- Quality engineers should verify surface quality using precise measurement methods.
Understanding the Problem
Hardened stainless steel presents a distinct challenge for CNC machining operations. The material resists deformation and cuts with a abrasive consistency that rapidly degrades tooling. When a part does not meet surface finish requirements, the result is rarely a single defect. It is usually a chain reaction involving vibration, heat generation, and tool deflection. These factors interact to produce chatter marks, built-up edge, and inconsistent roughness values across the part.
The root cause often lies in the interaction between the machine, the tool, and the cutting parameters. Hardened stainless steel has a high strength-to-weight ratio and retains its hardness even under stress. This makes it prone to elastic vibration. If the tool overhang is too long or the feed rate is too high, the tool can deflect enough to strike the workpiece. This contact generates heat and leaves a wavy pattern on the surface. A single incorrect tool selection can ruin a part, but a small error in coolant flow or machine alignment can also cause failure.
This guide focuses on practical solutions for engineers and buyers. It covers the specific symptoms of poor surface finish, the likely causes behind them, and the fixes required. It also includes prevention tips and verification methods to maintain consistent quality throughout production runs.
Common Symptoms of Poor Surface Finish
Poor surface finish on hardened stainless steel parts often shows up in specific ways. Engineers need to identify these symptoms early to stop the production line before scrap rates rise.
- Chatter marks: Wavy patterns on the surface caused by vibration. These marks are usually parallel to the cutting direction. They indicate that the tool is oscillating rather than cutting smoothly.
- Tool marks: Visible grooves from tool wear or incorrect cutting angle. These marks often appear as a regular pattern matching the tool diameter. They suggest the insert is dull or the rake angle is wrong.
- Burning or discoloration: Caused by excessive heat from poor cooling or high feed rates. The material may turn blue or brown. This discoloration indicates the material has exceeded its heat resistance limit.
- Inconsistent finish: Some areas smooth, others rough. This often happens when the tool changes direction or when the machine has a weak axis. One side of a flat surface might be smooth while the opposite side is rough.
- Built-up edge: Material sticking to the tool, causing rough surfaces. This is common in stainless steel because the material tends to weld to the tool tip. The stuck material acts like a burr, tearing the surface rather than slicing it.
These symptoms are not just cosmetic. They can affect part function and lead to failure. For example, a rough surface on a pump housing can cause fluid leakage. The microscopic valleys trap air and prevent a seal. A rough surface on a bearing race can increase friction and wear. The high friction generates heat, which expands the bearing and causes it to seize.
Likely Causes and Fixes
The table below lists common symptoms, their likely causes, and practical fixes.
| Symptom | Likely cause | What to do |
|---|---|---|
| Chatter marks | Vibration from improper tool overhang or cutting parameters | Reduce tool overhang, adjust feed rate, and use a shorter tool |
| Tool marks | Tool wear or incorrect cutting angle | Replace tool, adjust cutting angle, and use a new insert |
| Burning or discoloration | Excessive heat from poor cooling or high feed rates | Increase coolant flow, reduce feed rate, and use a lower cutting speed |
| Inconsistent finish | Machine vibration or tool deflection | Check machine alignment, reduce tool overhang, and use a stiffer tool |
| Built-up edge | Material sticking to the tool due to poor chip control | Use a coolant with chip-breaking properties and adjust cutting speed |
Each fix requires careful testing. Engineers should start with small adjustments. Measure the surface finish after each change. This approach helps isolate the cause and find the best solution. If you change the feed rate and the finish improves, do not change the depth of cut yet. Test the new feed rate for several parts. If the finish remains consistent, then adjust the depth of cut. This method prevents masking the real problem.
Tooling Selection for Hardened Stainless Steel
Tooling is the first factor in achieving a good surface finish. The wrong tool can cause problems even with perfect cutting parameters. For hardened stainless steel, use tools with a high hardness rating. Carbide tools are a common choice. They can withstand the abrasive nature of stainless steel. However, carbide tools can chip if the cutting parameters are not correct. A sharp corner in a carbide tool can chip if it hits a hard inclusion in the material.
Tool geometry matters too. A sharp cutting edge reduces the force required for cutting. This lowers vibration and tool wear. A dull edge increases force and causes chatter. The rake angle of the insert also affects the finish. A positive rake angle helps the tool clear chips. A negative rake angle adds strength to the cutting edge. For thin-walled parts, a negative rake angle may be necessary to prevent deflection. For thick, rigid parts, a positive rake angle may provide a smoother finish.
Coating selection is also important. Titanium nitride coatings improve wear resistance. They help the tool handle the abrasive nature of stainless steel. However, coatings do not replace proper tool selection. They work best when the tool is the right shape and material. A coated tool with the wrong geometry will still chatter. A coated tool with a dull edge will still burn the part.
Engineers should work with tooling suppliers to select the right tool for their specific material and part. The supplier can recommend a tool based on the hardness, thickness, and geometry of the part. Ask for samples of the tool and the coating. Test the sample on a piece of the same material. Measure the finish before buying a full quantity.
Cutting Parameters and Machine Setup
Cutting parameters are the second factor in achieving a good surface finish. Speed, feed, and depth of cut all affect the surface. For hardened stainless steel, lower cutting speeds are often better. High speeds can cause heat and vibration. Lower speeds allow the tool to cut more effectively and reduce wear. The tool needs time to shear the material. If the speed is too high, the tool rubs against the workpiece instead of slicing it. This rubbing generates heat.
Feed rate also matters. A high feed rate can cause tool wear and poor surface finish. The tool leaves a larger step on the surface. A low feed rate can cause built-up edge and burning. The tool spends too much time in contact with the material. This increases heat. The goal is to find a balance. Start with a conservative feed rate. Increase it until the finish degrades. Then reduce it slightly. This finds the sweet spot.
Depth of cut should be minimized. A shallow depth of cut reduces the force on the tool and lowers vibration. This is especially important for thin-walled parts. If the part is thin, a deep cut can cause the part to bow. The bowing changes the cut and creates chatter. Use multiple shallow passes to remove the material. This keeps the tool load low.
Machine setup is critical. The machine must be rigid and well-aligned. Any vibration in the machine can transfer to the part and cause poor surface finish. Engineers should check the machine for wear and looseness. They should also verify that the tool is properly clamped. A loose tool holder can introduce vibration. Even a small amount of play in the holder can cause chatter. Use a hydraulic tool holder if available. It clamps the tool with high pressure and reduces vibration.
Prevention Tips for Consistent Quality
Prevention is better than cure. Engineers should build quality into the process from the start.
- Inspect tools before each run. Worn tools cause poor surface finish. A quick inspection can save time and material. Look for chips on the cutting edge. Check for wear on the rake face. If the edge is dull, replace it. Do not try to cut with a dull tool.
- Verify cutting parameters. Cutting parameters should be documented and verified for each part. This prevents mistakes and ensures consistency. Keep a log of the parameters used for each part. If a new operator takes over, they can use the documented settings. This reduces variation.
- Use proper coolant. Coolant controls temperature and removes chips. It also helps achieve a good surface finish. Use a coolant with chip-breaking properties. The coolant should break chips into small pieces. Large chips can get stuck in the workpiece and cause damage. Flush the chips out of the cut.
- Check machine alignment. Machine alignment should be checked regularly. Any vibration or looseness can cause poor surface finish. Run a test part after every major maintenance. Measure the finish. If the finish changes, the machine alignment may be off.
- Measure surface finish. Use a surface roughness tester to measure the finish. This provides objective data and helps identify problems early. Measure the Ra value. Compare it to the specification. If the value is high, investigate the cause.
These steps may seem basic, but they make a big difference. They reduce rework and scrap and ensure that parts meet specification. Document the process. Train operators on the importance of quality. Operators who understand why they are inspecting the tool and measuring the finish are more likely to catch problems early.
Verification and Measurement
Verification is the final step in achieving a good surface finish. Engineers need to measure the surface finish and compare it to the specification. Surface roughness testers are the standard tool for this job. They measure the micro-geometry of the surface. The result is a Ra value, which is the average height of the surface irregularities.
Engineers should measure the surface finish at multiple points. This accounts for variation across the part. Measure the center, the edges, and the corners. The finish may be smooth in the center but rough at the edges. If the finish is inconsistent, the problem may be in the tool or the machine. If the finish is smooth but the Ra value is high, the problem may be in the material or the cooling.
Check the surface for defects like chatter marks, tool marks, and burning. Use a magnifying glass to inspect the surface. Look for color changes. Blue or brown discoloration indicates heat. Use a light source to highlight the surface texture. This makes it easier to see tool marks and chatter marks.
If the surface finish does not meet specification, engineers should trace the problem back to the cause. They should adjust the process and re-measure. This iterative process helps ensure that the part meets requirement. Keep a record of the changes. If a change works, document it. If a change does not work, document why. This knowledge helps future runs.
Conclusion
Fixing CNC surface finish on hardened stainless steel requires a systematic approach. Engineers must control vibration, tool wear, and cutting parameters. They must also inspect tools, verify cutting parameters, and measure surface finish.
These steps are not complicated, but they require discipline and attention to detail. They reduce rework and scrap and ensure that parts meet specification.
Quality engineers should build these steps into their process. They should document the process and train operators on the importance of quality. This approach leads to consistent, defect-free parts and a satisfied customer.
Frequently asked questions
What is the best tool for CNC surface finish on hardened stainless steel?
Carbide tools with a sharp cutting edge and an appropriate coating are generally the best choice. The exact tool depends on the part geometry and material hardness.
How do I reduce vibration when machining hardened stainless steel?
Reduce tool overhang, use a shorter tool, and adjust the feed rate. Lowering the cutting speed can also help reduce vibration.
What is the ideal cutting speed for hardened stainless steel?
There is no single ideal speed. It depends on the tool, part geometry, and material hardness. Start with a low speed and adjust based on the results.
How do I measure surface finish on a CNC-machined part?
Use a surface roughness tester. Measure the finish at multiple points and compare the result to the specification.
Can I prevent surface finish defects on hardened stainless steel?
Yes. Inspect tools, verify cutting parameters, use proper coolant, and measure surface finish. These steps reduce the risk of defects.